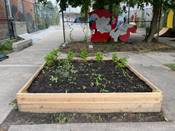
On Building – Marshfield Courts Planter
Uploaded on July 29, 2022
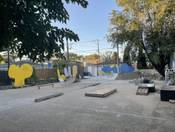
A project that I work on is the Marshfield Courts – a DIY skatepark in Chicago’s Mckinley Park at 35th and Marshfield, a block west of Ashland.
The project is constantly evolving as we add and remove new obstacles and ramps, and get better at laying concrete.
Beyond just creating a great skatepark though, we want to create a community space, and one of the design elements we decided to add was a planter. This both creates something beautiful for the neighborhood and provide a tone for the park – it’s not a place for burnouts to drink at (an inevitable consequence of any skatepark) – it’s a community area to be active at, or just hang out.
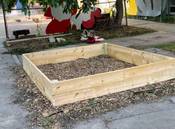
There was already a 8×8 foot plot dug out of the concrete, but it was overrun with weeds. So we weeded the plot, laid cardboard with mulch on top to keep weeds out of the planter. Now we’re ready to build the planter.
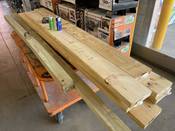
First step is to get the wood – Home Depot sells eight foot 2x8s – so we got 8 of those (one for each side of the planter, and then make it a foot tall. In addition, we got one 4×4 to put at the corners to provide additional support.
Now the only cuts that we have to do is on the 4x4s since the 2x8s are already to size.
First we have to get the plants though – we went to Garbage Hill Farm, a local farm in McKinley Park. They have a little kiosk outside of their farm with native plant seeds.
When we stopped by we said what’s up and they gave us some Burlap bags also, which could come in handy in the future.
Then we got back to the DIY and got to work constructing the actual planter. We started cutting up the 4×4 in 12 inch pieces.
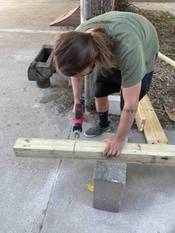
Once we got those corner pieces all cut up, we started drilling the wood into them. We started with the first “level” of wood into the stakes, and then constructed the next level next to it.
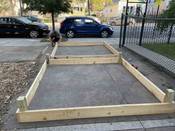
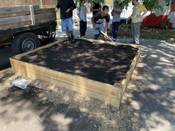
Once we got the two squares, we put the second level on top, which fit nice and snug and then drilled the second level into the stake also. We made sure to offset the pieces of wood to provide the most structure. Then we picked it up and placed it on the plot (just visible on the left side of the image above).
Now we have to fill it in with soil. This would require a ton of soil, so we went to spots we knew had a ton of extra soil. In cities there is a surprising amount of extra soil just left out because people bought too much and don’t know what to do with it. We got soil here and there from OfferUp, FB marketplace, and random piles we had seen around the city.
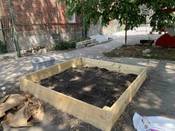
This was the first soil run we went on – we went down to Morgan Park to a heaping pile of soil that someone had from a landscaping project. We loaded up a couple of Home Depot bags, a fraction of the pile, and I thought that we had enough. I told Zack that I didn’t want to “hoard soil”, and then we poured it into the planter. We looked at how we had barely filled the planter at all and Zack said something to the effect of “Good thing we didn’t hoard that soil”. As I work on large projects, I need to get more used to painting with broad strokes.
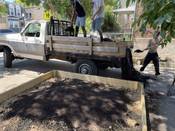
This is what painting with broad strokes looks like. We laid down a tarp and drove out to the sticks and filled up Juan’s truck with soil from a huge pile he knew of. Then we put another tarp on top of it, tied the two tarps together and drove back to the DIY. He drove the truck back up the curb next to the planter and we started shoveling the huge pile into the planter. Now we had enough to fill up the planter and had extra which we were able to give to the next door neighbors and have a little excess pile for future gardening projects.
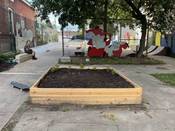
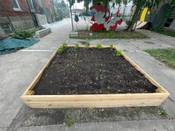
Finally, we leveled the soil and planted seeds in the planter.
Now we wait for the seeds to grow into plants! I’ll update this post in the upcoming weeks/months as the plants grow.
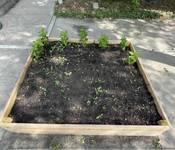
First update – I took the following picture on July 29, right after I made this blog post.
The big things sprouting were already a little bit grown when they were put in – they were put in by the neighbors next door, who help out with providing us water and electricity on build days. You can see a few of our plants starting to sprout too.
This is the planter on August 6 – a lot of the buds are fully visible and seen throughout the planter now!
